Tufting workshop: everything you need to know 🧶
If you're on Instagram or Youtube, you've certainly heard about tufting, a Do it Yourself must-have today. Using wool to create works of art or personalize your home fascinates many enthusiasts. Funbooker, the site that lists leisure activities all over France, explains it all to you!
What is tufting?
Tufting goes back a long way, to ancient Egypt. How does it work? It's an artisanal wool weaving technique, brought back into the DIY arena with tools that make tufting quick and easy.
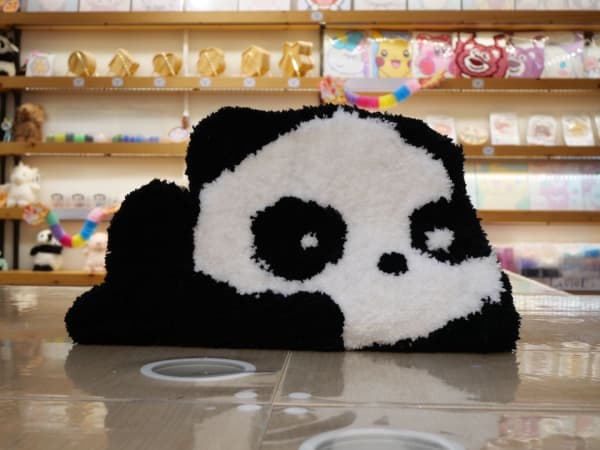
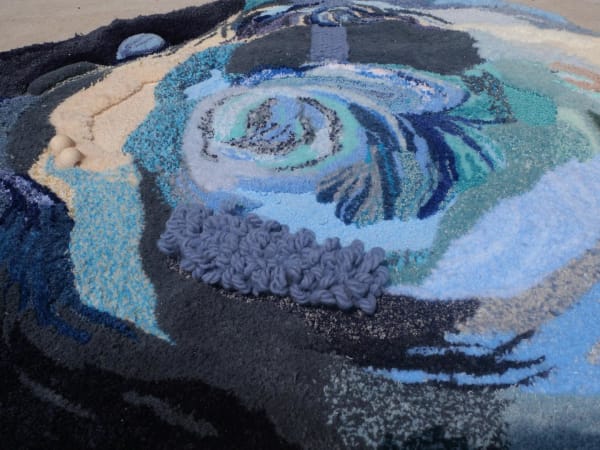
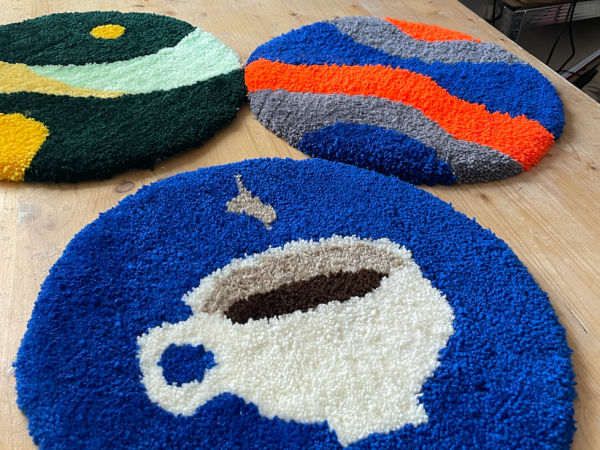
Today, there are numerous workshops all over France where you can create rugs, cushion covers, wall tapestries or mirror decorations. It's the perfect place to unleash your creativity!
Tufting workshop: essential equipment
Tufting wouldn't be so popular if it didn't rely on easy-to-use, high-performance and inexpensive tools. Here's a quick review of essential equipment.
➡️ Tufting gun
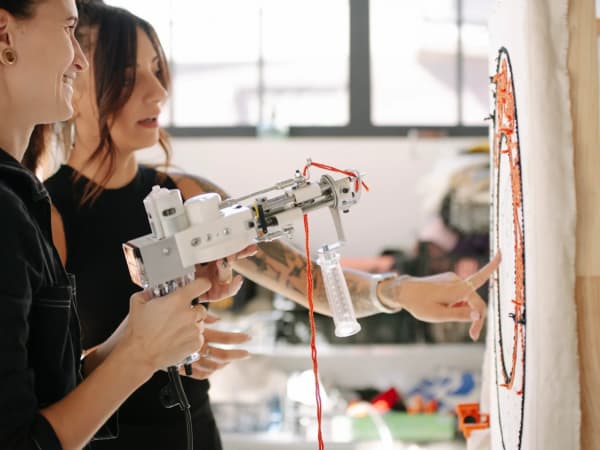
The tufting gun or tufting machine is the basic element. It does the practical work: equipped with a needle, it tufts, "sewing" the wool onto the fabric.
There are two possible finishes: cut-pile tapestries or curly-pile tapestries. Choose the right gun!
➡️ Tufted canvas
This is the support for your creation, a canvas on which you'll tuft. Choose a canvas woven from a sturdy fabric with a weft wide enough to allow the gun to pass through.
There are many references specially designed for tufting, but nothing prevents you from using jute or monk's cloth.
➡️ Frame
As with embroidery, you'll need a support for your tufting canvas. Stretch it over a frame of your choice. Square or rectangular, choose a fairly large frame.
It's often easier to buy a stand to hold the frame, or to mount it on a wall. You'll be more comfortable working in it.
➡️ Acrylic wool
Tufted rugs, tapestries, cushion covers, etc. are often very colorful. You'll want to use acrylic wool yarns, which are less expensive than natural wool and ideal for beginners.
Wool is more expensive and less easy to handle, but produces more premium results and longer-lasting creations.
➡️ Marker for drawing on canvas
Before grabbing your tufting gun, you'll want to start by drawing your project's design on canvas. Then all you have to do is follow the contours drawn with your gun.
You'll need a large marker that draws clearly visible lines and curves. If you're worried about making mistakes on the canvas, opt for a water-erase marker.
➡️ Glue
When you've finished tufting, you need to secure the threads so they don't come loose from the canvas. That's why you need glue, which you apply to the back of your creation.
You can opt for acrylic polymer or synthetic rubber glue. Above all, don't be stingy with your glue, and go for the big cans!
➡️ Wool scissors
When you've finished tufting, you'll notice that some threads are sticking out too far. To cut them off, there are duckbill scissors that allow you to slice off the awkward strands with a flick of the wrist.
You can also use conventional nail scissors, which are a little less practical, but also do the job.
➡️ Clippers
The final touch is the clipper. It evens out your work by trimming the threads that protrude only slightly. You'll be amazed at how professional your worklooks, and how wow-factorit is!
Choose a trimmer with several speeds, and check before you buy that you can hold it properly. Practice on a sample before using it on your first tufting job.
How does a tufting workshop work?
The ideal way to learn this new DIY art is to attend a tufting workshop. You'll find as many as you like on the Funbooker website. The 3-hour workshop generally begins with a presentation of the various techniques. Among other things, you'll learn how to use a tufting gun.
After the creative part, during which you'll draw your motif on canvas, you'll create your first work. The workshop ends with the finishing touches: cutting, gluing and shaving, before you take the fruit of your labor home.


